AutoDock
by Kristen Patnode
AutoDockTools Procedure
Updated 03/09/2020
Protein Preparation
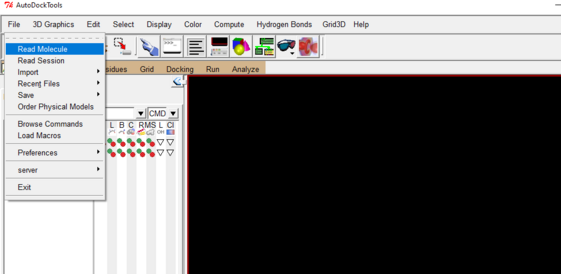
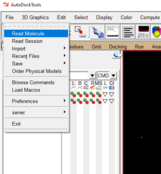
- Once you’ve opened AutoDockTools, go to file drop down and select “Read Molecule”
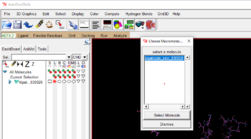
- Then open your receptor/protein pdb file:
Go to the select drop down 🡪click on set selection level 🡪 choose atom
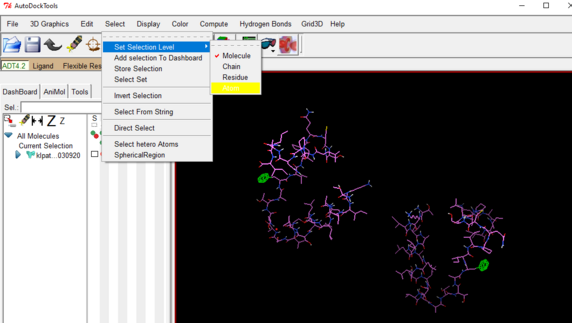
OPTIONAL STEP: Go to Edit drop down 🡪 Delete 🡪 Delete Selected Atoms
In this way you can remove any unnecessary or unwanted atoms from the file.
Add hydrogens to the structure if needed
Go to Edit drop down 🡪 select Hydrogens 🡪 Add 🡪 then in the pop up window, choose Polar Only
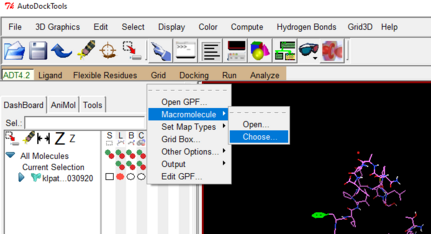
go to Grid drop down 🡪 select macro molecule 🡪 Choose 🡪 select your protein file in the pop up window.
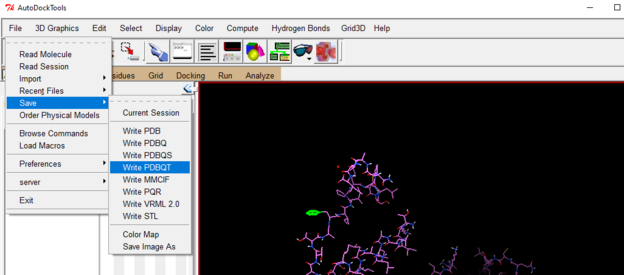
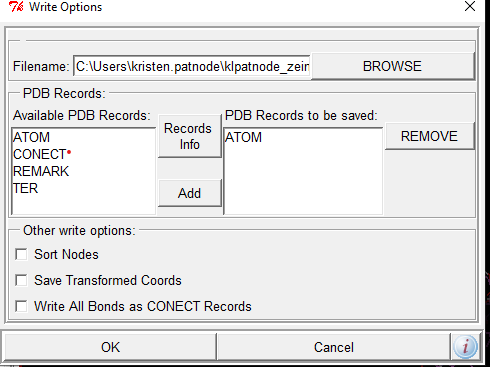
Choose a file name and location and then click OK
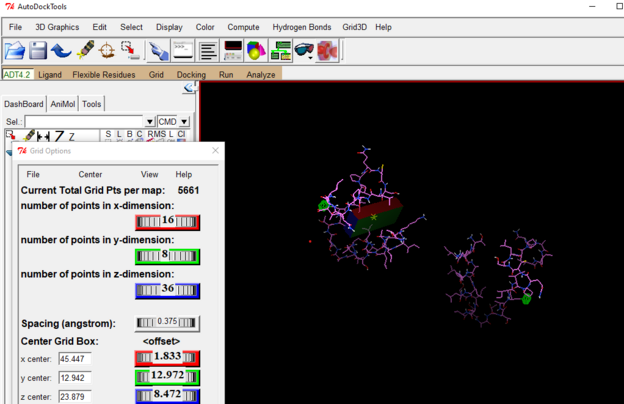
Create your grid box for where the ligand can dock
Go to Grid drop down, select Grid Box, move box and adjust size as necessary.
RECORD THE VALUES OF YOUR GRID BOX (size and center)
You will need to use these values in the command prompt portion of the process!!!
Ligand Preparation
- Go to the Ligand drop down 🡪 Input 🡪 open 🡪 choose your ligand pdb file
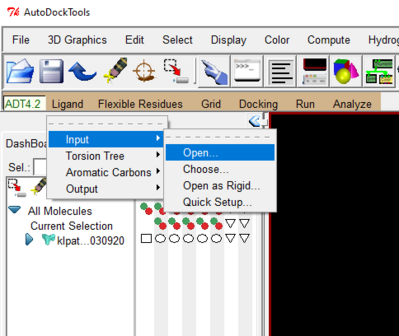
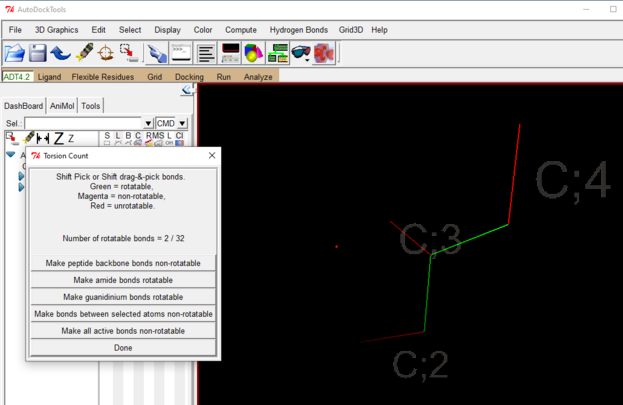
- Again under the Ligand drop down 🡪 Torsion Tree 🡪 Choose Torsion 🡪 click on the bonds you want to make rotatable 🡪 done
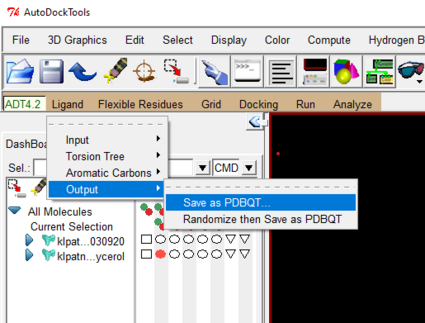
Save ligand as a pdbqt file like you did for protein
Ligand-> Output-> save as PDBQT
Docking
1. Rename the Scripps Research folder to: The_Scripps_Research_Institute
- The underscores help since command prompt prefers not to have spaces
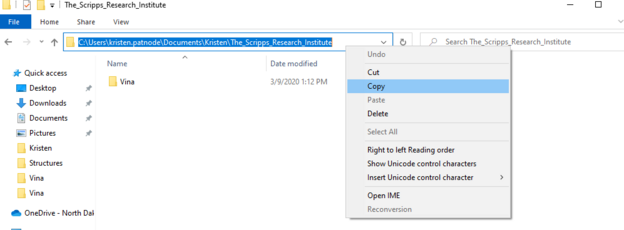
2. on the first command line type the following with your respective/appropriate folder names and usernames.
cd \Users\john.doe\documents\foldername\The_Scripps_Research_Institute
This is easiest if you copy and paste the route directly from file explorer (see image)
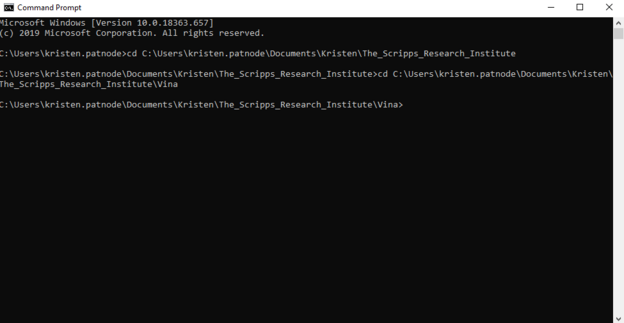
3. open the vina folder by typing the following with your respective/appropriate folder names and usernames.
cd \Users\john.doe\documents\foldername\The-Scripps_Research_Institute\Vina
This is again easiest if you copy and paste the route directly from file explorer (see image)
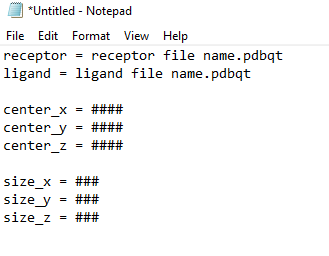
4. Create a file in notepad in the following order
Where “####” are the numbers you get from your grid box dimensions completed above in the protein preparation.
5. At this point your command prompt should have the vina folder open and look like the image below
The next step is to open your notepad file. To do so, type the following in the command prompt:
vina.exe --config notepadfilename.txt --log log.txt
Use whatever filename you saved the notepad file as. For my files I name them “conf_date” and put the date of the updated version to make it easier to keep track.
*preceding “config” and the first “log” are two hyphens! *
At the end of the script it should say “writing output … done.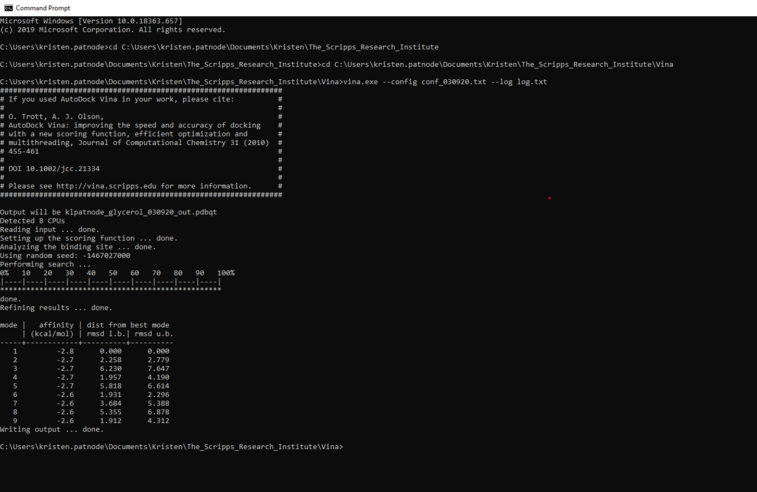
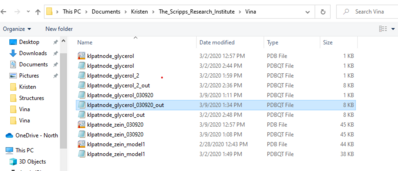
6. See the output file in your Vina folder as filename_out.pdbqt
Analysis of the Output
- Go to file 🡪 Read Molecule 🡪 choose the output file that was generated from command prompt above. --_out.pdbqt 🡪 open
Again go to file 🡪 Read Molecule 🡪 choose your protein.pdbqt file 🡪 open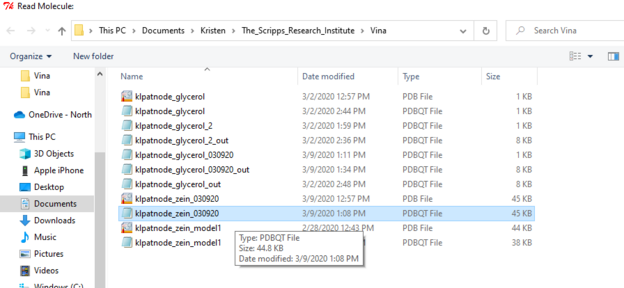
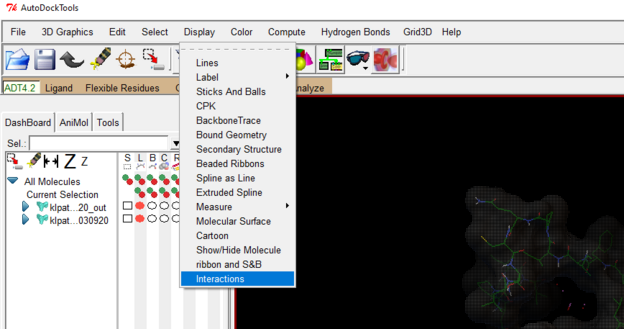
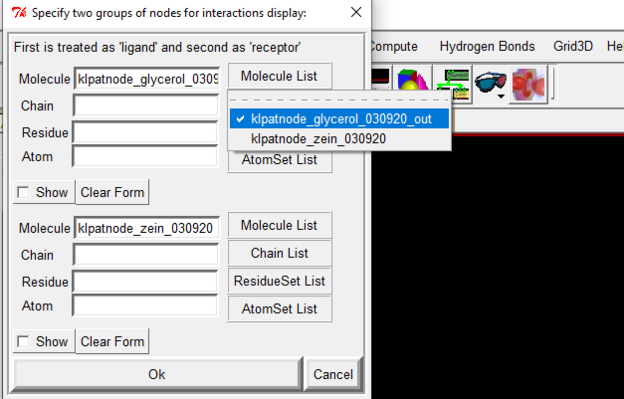
Go to display 🡪 Interactions 🡪 Set Molecule List
The first should be your ligand and second will be your protein file.
See image below for reference
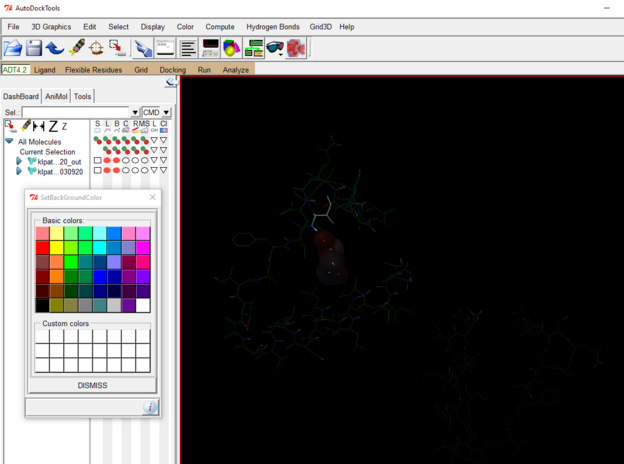
You can then choose background color and adjust the colors of the protein and ligand as desired.
To save the image go to file 🡪 Save 🡪 Save Image As 🡪 name the output file 🡪OK
PyMol Visualization
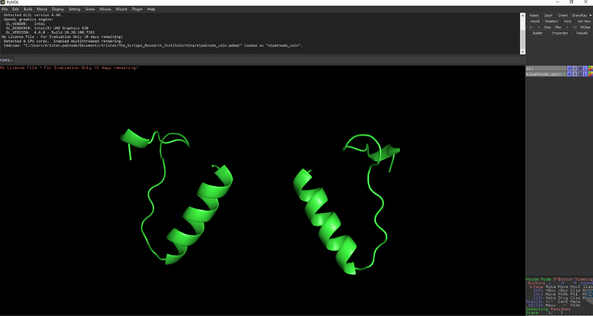
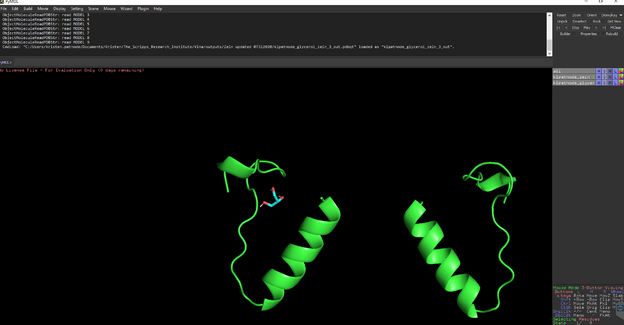
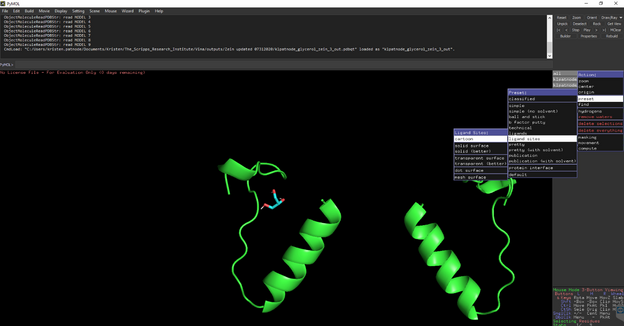
Open the AutoDock output file from command prompt calculations.
You should see something like this:
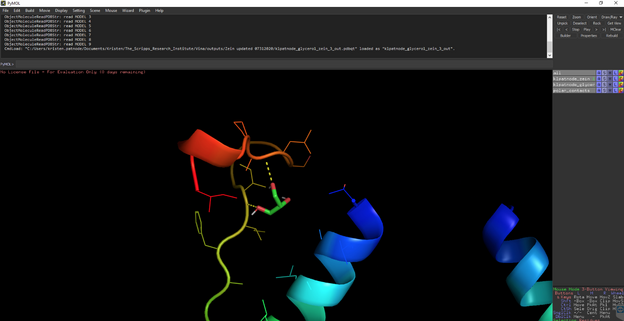
To measure distances between select Wizard 🡪 measurement then select the atom you want to start measuring from and then the atom you are measuring to.
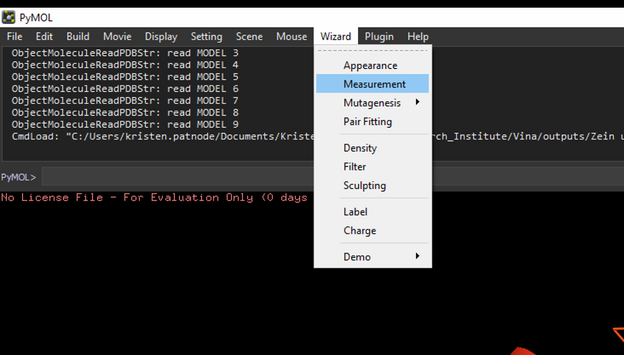
*when you are done measuring, hit done at the bottom right otherwise everything you click will create a measurement.*
For additional visualization techniques, feel free to ask me (Kristen ) any questions. Otherwise, YouTube has a plethora of videos on this topic that are very helpful!
